
Wicked Island Walkthrough: Full Progression Route
A spoiler-light Wicked Island walkthrough that orders the biomes, portal bosses, gear checks and the 1.0 Goddess Temple endgame.
Wicked Island is open enough that you can walk into a late-game portal at level five and lose an hour of progress. The route below is not a speedrun; it is the order that keeps your gear, your waystone network and your quest log moving together. Start with the beginner guide→ if you have not survived a night yet, then use this page to decide what comes next.
Quick answer: Finish Baelin's chain, build bronze gear, activate waystones around the starting region, clear the red and purple portal dungeons for armor pieces, then follow the Goddess questline into the 1.0 temple. Use the map guide→ to place each landmark before you travel.
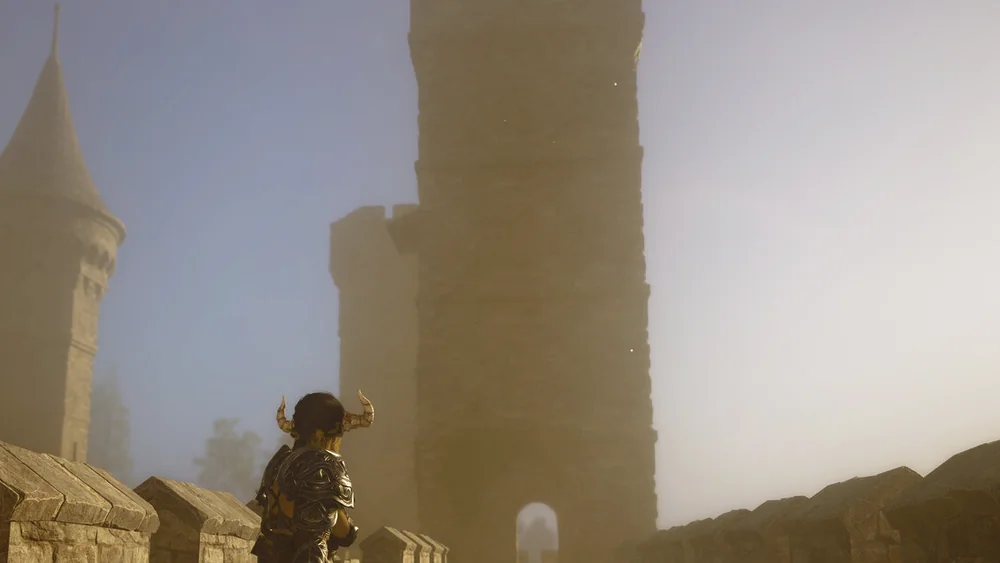
Act 1: What should you finish before leaving the beach?
Complete Baelin's five tasks. They give you cloth gear, a spear, a campfire, a workbench and a bed, which is the minimum kit for every later system. The chain is deliberately boring: fiber, branches, wood, stone, wheat. Do it anyway. Skipping the workbench means skipping the furnace, and skipping the furnace means every ore run is wasted.
While you are still in the starting biome, activate the nearest waystones. Fast travel needs two activated stones before the map will accept a destination. The fast travel guide→ explains the exact interaction; the short version is to walk up to each stone, activate it, and only then open the map.
Build a furnace as soon as the workbench is down. Bronze is the first gear tier that can reliably fight the creatures around the starting caves. A bronze spear and a stack of cooked food are enough for the first red portal attempt.
Act 2: When should you push into Sanctuary and Stonehelm?
Push toward Sanctuary once you have bronze gear and at least one full stack of food. Sanctuary is the social hub with several NPCs, including Isabell and Solas, and it is where the Consort armor trail begins. The road there is also a good waystone run: activate every stone you pass, even if you do not plan to return soon.
Stonehelm Bastion is the purple portal landmark. The Queen's armor scroll starts there, but the boss behind the purple door is not an early-game fight. Treat Stonehelm as a mid-game target: clear the approach, learn the portal location, then come back with steel or black steel gear.
Graycott and the Iron Creed camps sit in the same broad progression band. Iron Creed soldiers cannot be tamed and are best avoided until you have a weapon with real stagger. Their camps are useful for loot later, not for a first tour.
A waystone run is never wasted. Even a stone you cannot use yet becomes a future escape route, and the map labels it permanently once activated.
Act 3: Which caves and portals should you clear?
The resource caves are the backbone of the mid-game. Death's Cauldron, Whistling Cave, Grandwood Cave and Hollow Tunnels all provide iron, deep iron or both. Clear them in short loops: enter, mine the visible nodes, leave before your inventory fills with stone. The resource map→ lists the exact ore types and the locked chests that hold crystal.
The red portal in Grandwood Ruins is the first armor boss most players attempt. It drops a Consort piece and sits on the east side of the map. The purple portal at Stonehelm Bastion is the next step and unlocks the Queen's armor hunt. Do not confuse the two: red is the Consort fight, purple is the Queen scroll.
Hollow Tunnels is also where the Punisher quest weapon is hidden, on a small island southwest of the main tunnel. The chest is guarded, and a Drake patrols nearby. Bring a ranged option or a weapon with bleed before you commit.
Act 4: How do you reach the Goddess Temple?
The Goddess Temple is the 1.0 endgame dungeon. It adds a questline, dialogue, an arena and Velya's Armor at the end. The entrance is not signposted like a starter quest; follow the Goddess thread once you have cleared the major portal bosses and can survive a sustained fight. The Goddess Temple guide→ covers the known blockers, including the mask and accessory door issue that was fixed in the November 18 hotfix.
Do not sell your old armor before entering. The temple expects a full set, not a fashion swap. Bring healing food, a repair plan and a backup weapon. If you are on a build older than the hotfix, update before you start; the statue dialogue and door interactions can otherwise stall the quest.

What should you do between story beats?
Build. A walkthrough that ignores the base will stall at the first long dungeon. You need a bed for Well Rested, a furnace for ingots, a tannery for leather and an Apothecary Bench for pheromones. The base building guide→ shows a compact layout that fits all four without turning the game into a construction sim.
Tame one utility beast early. A tanky creature absorbs hits while you mine, and a mount cuts travel time across the island. Taming is not a cosmetic side system; it is the answer to the game's long walking distances. Start with the taming guide→ once the Apothecary Bench is standing.
Keep the journal current. NPC quests do not always point to the next step, and several rewards are unique weapons that cannot be replaced. The quest list→ tracks every chain and its reward.
What order should the portal bosses go in?
Red portal first, purple portal second, Goddess arena last. That order matches the armor curve: Consort pieces from the red boss, Queen pieces after the purple boss, Velya's Armor from the temple. If a portal boss kills you in under a minute, you are missing either a weapon tier or a full set of armor; go back to the caves rather than banging your head against the door.
The named world bosses are separate from the portals. The Minotaur at the Obelisk of the Blood Father, the Archdemon, the Nightmare and the Reaper can all be fought in the open world. They drop materials and, in some cases, quest items. Do not treat every large health bar as a story gate.
What is the fastest way to get stronger after the portals?
Upgrade your armor at the Armor Upgrade Anvil instead of crafting a new set from scratch. The anvil costs 30 wood and 20 iron ingots, and it preserves the set bonuses you already built around. A tier-two set with the right bonus beats a tier-three set with the wrong weight class.
Then push weapons. Steel and black steel are the practical mid-game targets; unique weapons are the late-game targets. The best weapons guide→ compares the damage, bleed and crit values so you do not spend a rare ingot on the wrong upgrade.
Finally, run the Workshop presets. A building preset saves hours of base construction, and a character preset lets you restart with a look you actually want. Neither changes combat balance, but both remove friction from a long playthrough.
Official source: Wicked Island on Steam ↗
Official source: Wicked Island 1.0 release notes ↗
Community source: Wicked Island wiki: Locations ↗
FAQ
How long does a full Wicked Island playthrough take?
There is no fixed length because the game is open-world and base-heavy. A focused route through the portal bosses and the Goddess Temple is dozens of hours; a builder can spend that long on one base.
Can you skip the portal bosses?
You can skip fights, but you cannot skip the gear they unlock if you want the Queen or Consort sets. The Goddess Temple is much harder without a completed armor set.
Do you need the Dragon's Trial to finish the game?
No. The dragon quest is a major side chain with a unique reward, not a hard requirement for the Goddess Temple. It does make travel and several fights easier.
What should I do first after 1.0?
Check the November 18 hotfix, load your old save, and re-check the Goddess Temple door if you had the mask or accessory bug. Then finish any portal boss you skipped before the update.